
This FAQ describes step by step how to install a virtual firewall from Fortinet (Forti-Gate) in your vDC. It is important that you follow every step and do not skip anything. The images may vary depending on the version.
Schritt 1: VM und Storage erstellen
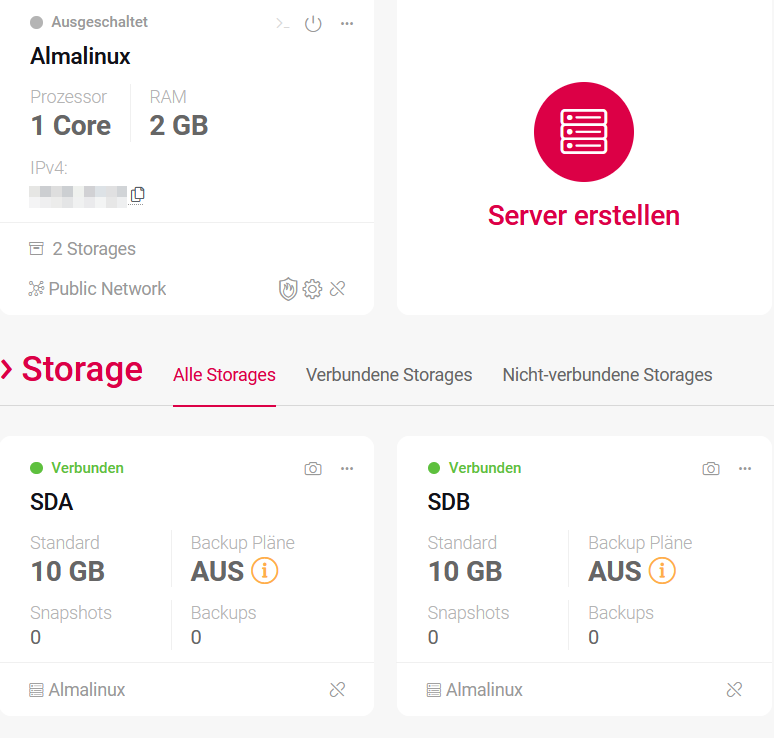
The first step is to create the basis for your virtual firewall. You need a virtual server and two storage devices.
- Create a VM in the vDC with at least one CPU, 2 GB RAM, 10 GB storage with an operating system (sda). Select AlmaLinux for the next steps to work. Otherwise, commands such as “yum”, which you will need later, may not work.
- Create another storage of at least 10 GB without operating system (sdb).
- Connect the second storage space (Storage sdb) to the VM using drag and drop.
- Then start your server.
Schritt 2: Konto bei Fortinet erstellen
In this step, you create your account (if you don’t already have one) with Fortinet and download the file.
- Create an account with Fortinet. Follow the steps from Fortinet here.
- Then log in to your Fortinet Dashboard.
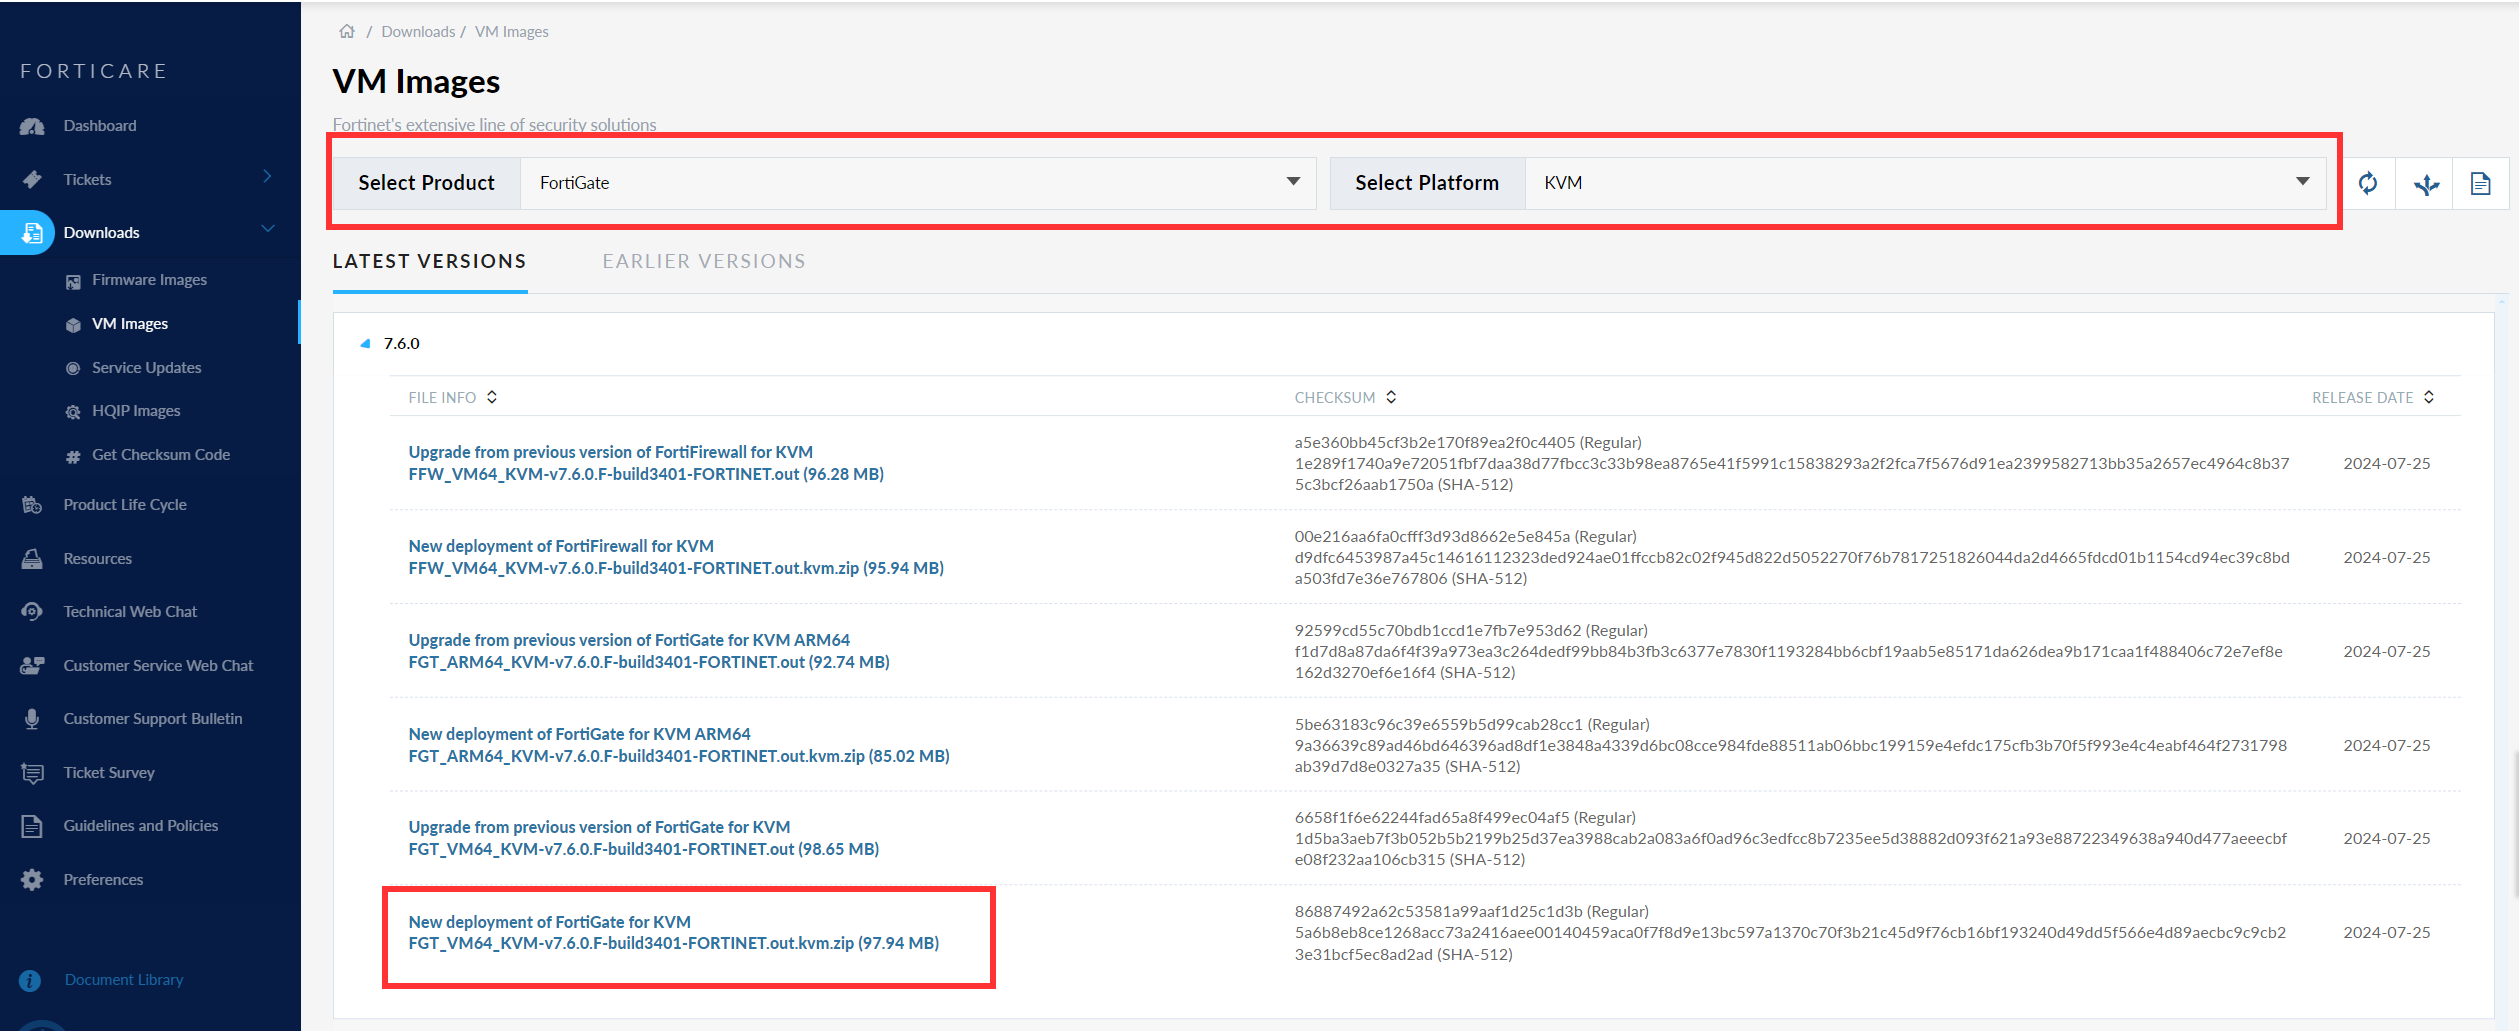
- Select “Support” at the top and then “VM Images”
- Now set the filter for “Select Platform” to “KVM”.
- Download the latest version “New deployment of FortiGate for KVMxxxxx”.
- Unzip the .zip file on your local computer.

Schritt 3: Object Storage erstellen
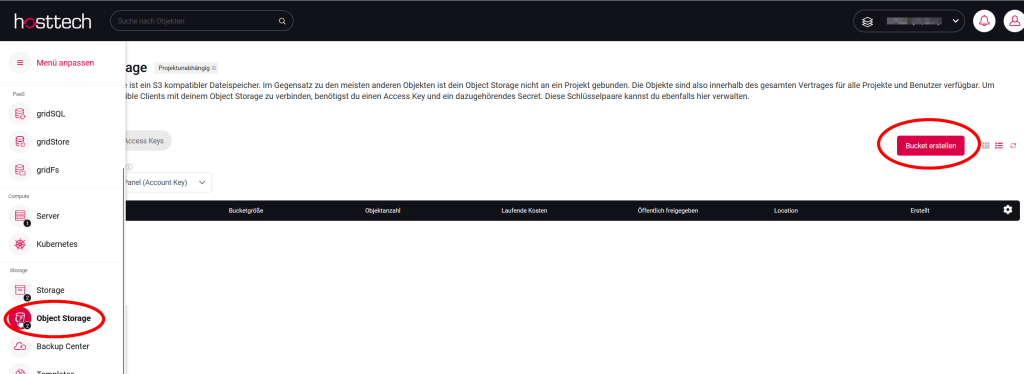
To make the Fortigate file available for your system, you must create an Object Storage.
- Create an S3 object storage. You can do this in your vDC by clicking on the bucket on the left under Storage. Then click on “Create bucket”.
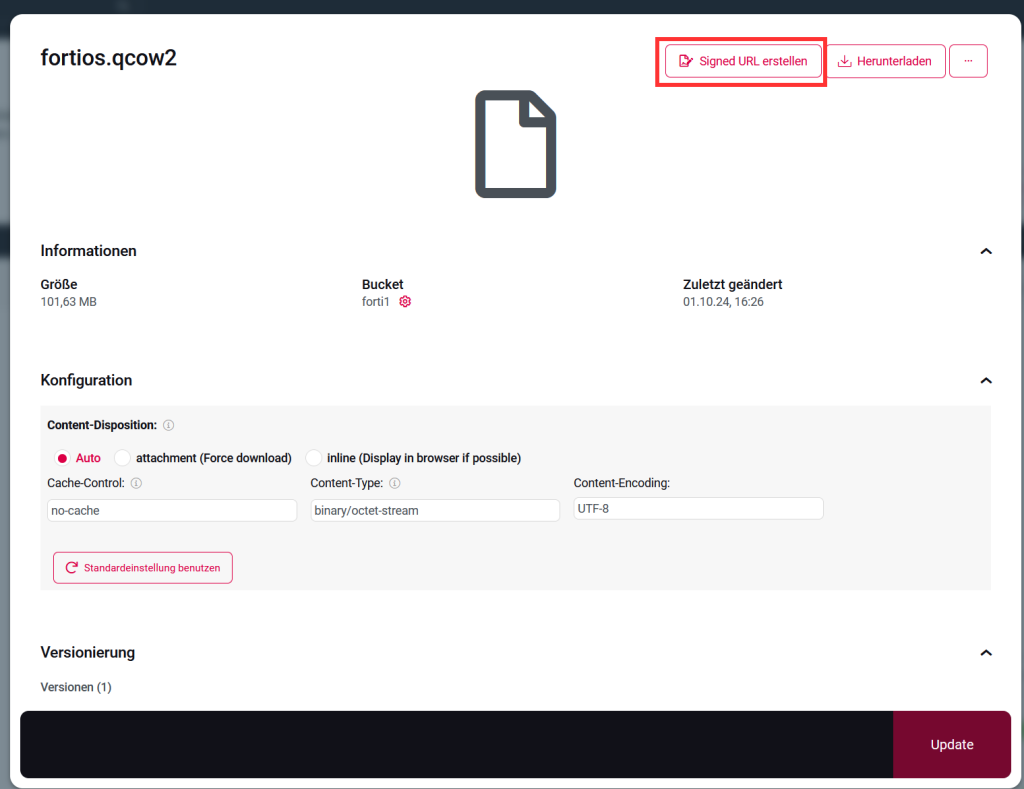
- Then upload the file that you downloaded from FortiGate and unzipped to the bucket. This may take a moment, depending on the situation.
- Create the URL of the file by clicking on the file and selecting “Create signed URL”. Copy the URL.
Schritt 4: Verbindung mit Server herstellen
For an SSH connection to the virtual machine, you can either use the password of the root user or the password of the SSH key, depending on how the SSH configuration is set up on the virtual machine.
Using the root password
If SSH authentication on the virtual machine is configured to allow you to log in with a password, use the root user’s password when prompted.
Using the SSH key:
If SSH authentication is performed using an SSH key pair, you will need the private key that was previously connected to the virtual machine.
This private key is normally used to log in without entering a password.
Depending on the security policy and the configuration of the virtual machine, both methods can be used. Make sure that you use the appropriate authentication method to establish a successful SSH connection.
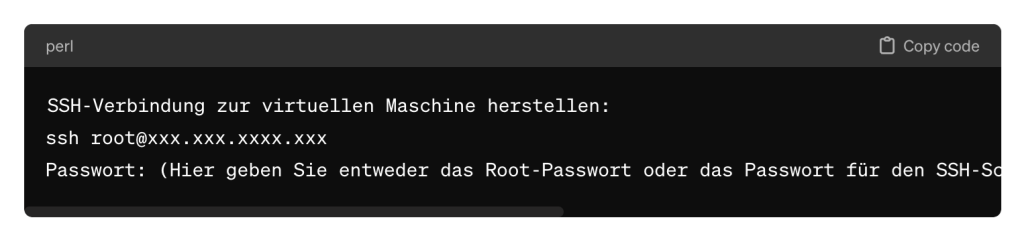
This command opens an SSH connection to the virtual machine using the user name “root” and the IP address “xxx.xxx.xxxx.xxx”. You will then be prompted to enter the appropriate password to log in. Please note that the actual command should contain the IP address of your virtual machine.
4.1 Dateien übertragen
Now it is time to transfer the file from the S3 object storage to the virtual machine
(sda). After executing the “wget” command, please paste the link of the file that you copied from the bucket.
As the link is too long for the system, it is immediately renamed and downloaded with the following code. Important: Remember the new name of the file!
wget -O NEUERNAME.qcow2 "https://PFAD"wget -O fortigatefortios.qcow2 “https://bc01.gos3.io/forti1/fortios.qcow2?X-Amz-Algorithm=AWS4-HMAC-SHA256&X-Amz-Content-Sha256=UNSIGNED-PAYLOAD&X-Amz-Credential=1ZF6W8TE6Q1QHRJFQ1NB%2F20241001%2Fbc01%2Fs3%2Faws4_request&X-Amz-Date=20241001T142824Z&X-Amz-Expires=604800&X-Amz-Signature=09982bb8585e869426acbf70a1af0f4c0e06cd91393e24d514627b605050e395&X-Amz-SignedHeaders=host&x-id=GetObject”
4.2 Datei konvertieren
The file format must now be converted to RAW format. Search for the conversion program. The command to search for the conversion program with YUM is:
yum search qemu-imgThis command searches the system’s package repository for the package containing the “qemu-img” program. After executing this command, you will get a list of available packages that contain or are related to “qemu-img”. To install the “qemu-img” program with YUM, use the following command:
yum install qemu-imgAfter you have executed this command, the package “qemu-img” and all necessary dependencies will be installed. The file must now be converted with the following command:
qemu-img convert -p /root/DATEINAME.qcow2 -O raw /dev/sdbExample: qemu-img convert -p /root/fortigatefortios.qcow2 -O raw /dev/sdb
This command converts the file “/root/DATEINAME.qcow2” to raw format and saves it on the device “/dev/sdb”. Make sure that you have the required permissions and that the source file and the target device are specified correctly, as this command writes directly to the target device and can overwrite existing data. Be extremely careful when executing this command to avoid data loss.
4.3 Partition einhängen
The partition must be mounted so that it is recognized when the virtual machine is started. To mount the /dev/sdb1 partition to the /mnt directory, use the command:
mount /dev/sdb1 /mntThis command binds the /dev/sdb1 partition to the /mnt directory so that you can access the files it contains. Make sure that the target directory (/mnt) exists before you try to mount the partition.
To check whether the partition has been successfully mounted and to display the available disk space and the files in the mounted directory, use the following commands:
- Check the available memory:
df -h - Display the files in the mounted directory:
ls -la /mnt
Schritt 5: Storage ändern
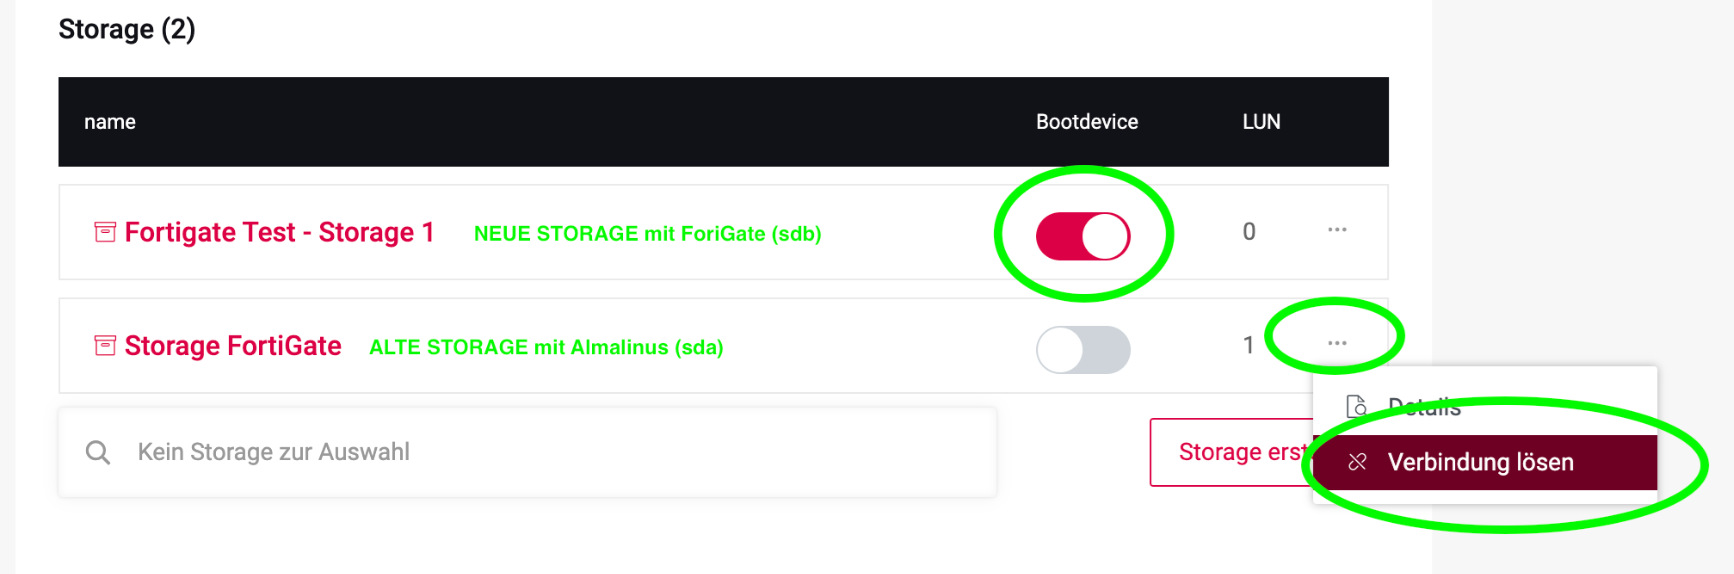
Now SDB, i.e. your storage where the FortiGate is running, is connected and the connection to the first storage is disconnected.
Open the vDC and select the virtual machine. Change the settings to select the second memory as boot memory and remove the original memory as boot.
SDA is now disconnected and SDB is marked as the boot device.
Then restart the virtual machine in the vDC.
Schritt 6: Verbindung auf deine Firewall herstellen via Browser
To access the FortiGate interface in the browser, open your favorite web browser and enter the IP address of the FortiGate in the address bar:
https://xxx.xxx.xxx.xxx (replace xxx with your actual IP address).
After you have entered the IP address, press the Enter key. You will be redirected to the login screen. Use the following login information to log in:
Username: admin
Password: leave blank (do not enter anything!)
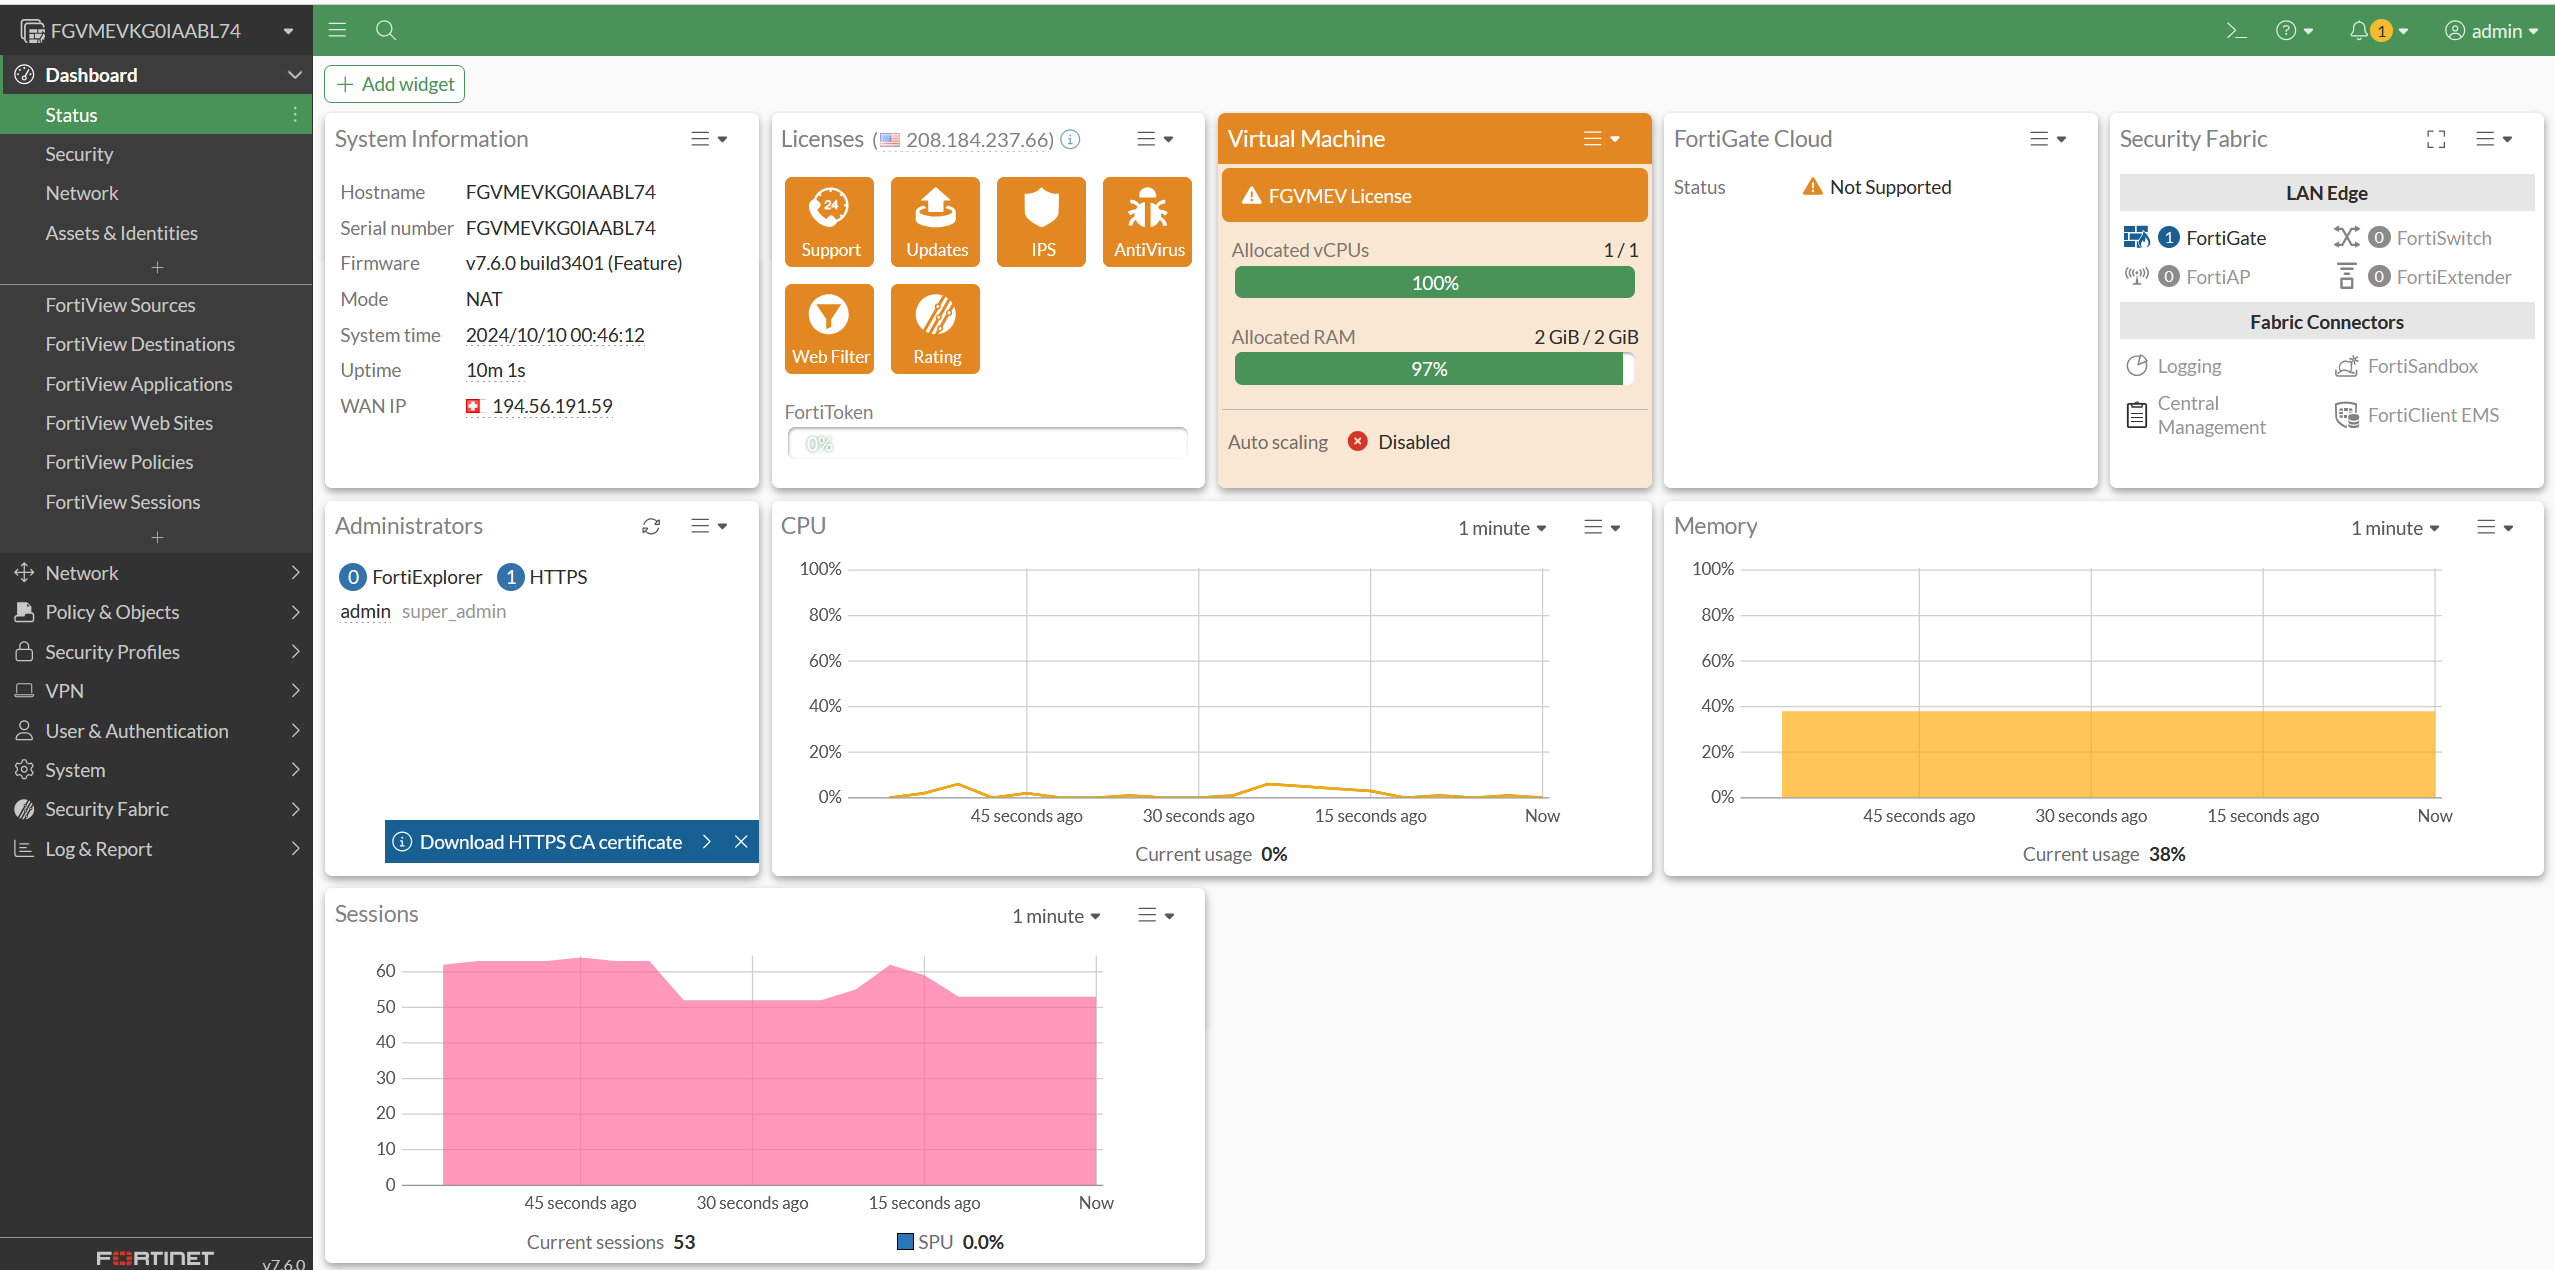
Enter the login information and click on “Login”. You should now have access to the FortiGate dashboard.
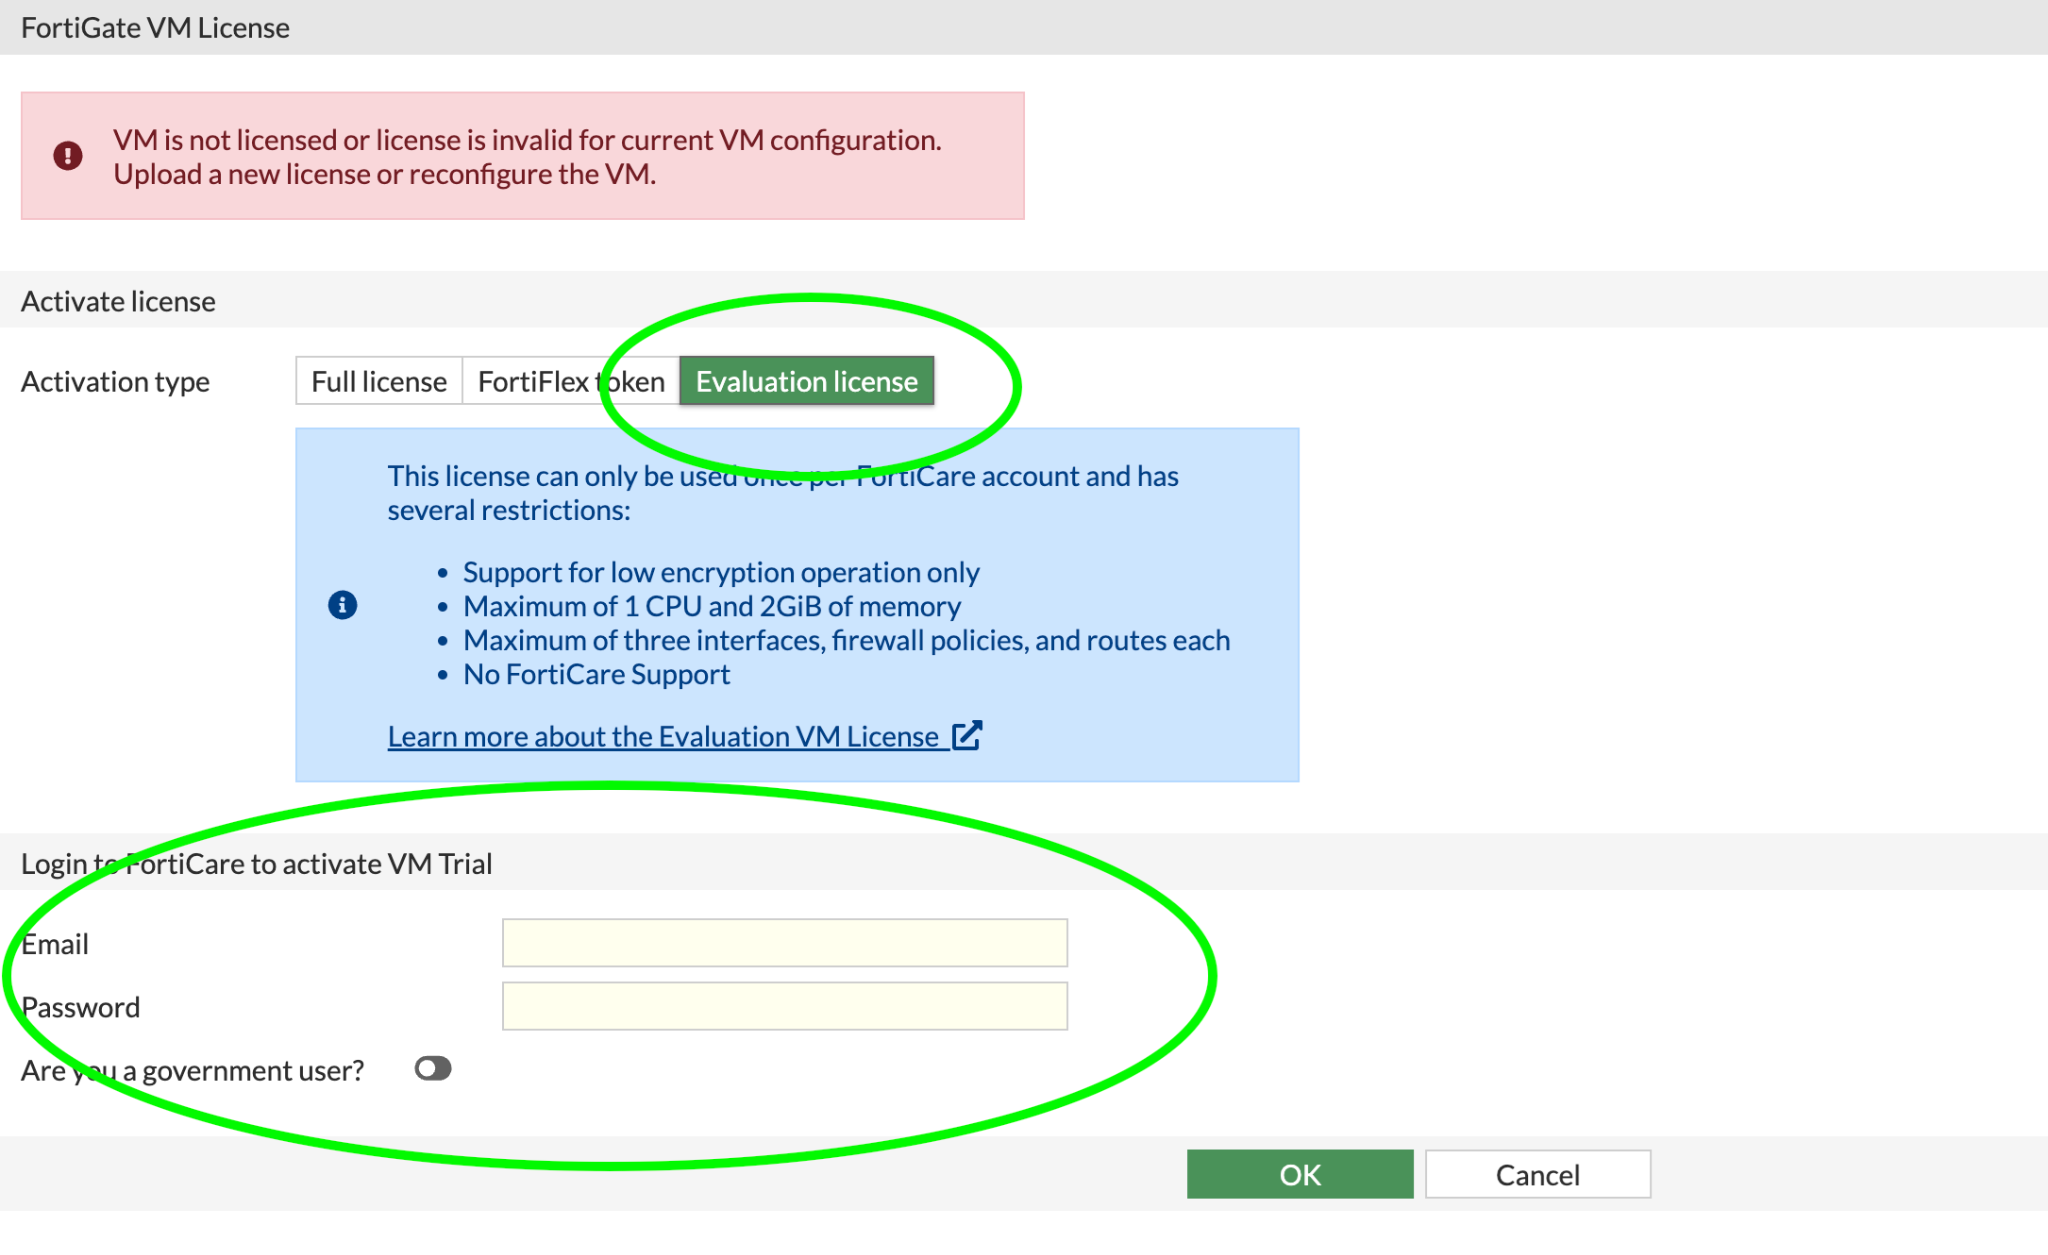
To activate the trial license , you must first log in to your account on the relevant platform. If you have specific questions about activating your trial license, please contact the support team of the relevant platform or software for further assistance.
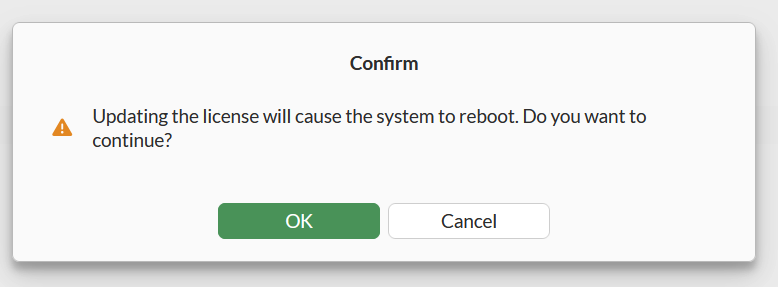
After logging in, the license is imported and the FortiGate restarts.
We are at your disposal to answer your questions. However, in order to gain in-depth knowledge of the functionalities of FortiGate, we recommend that you contact FortiGate support directly.
Grundlegende FotiGate-Firewall-Konfigurationsbeispiele
The configuration of a FortiGate firewall via the graphical user interface (GUI) enables intuitive and visual management of the settings. Here you can read how to implement the above examples via the GUI:
- Interface configuration:
Network > Interfaces: Here you can configure all your LAN and WAN interfaces. Select the interface you want to configure here and enter the IP address, subnet and other options such as alias and permitted access (e.g. Ping, HTTPS, SSH…). - NAT configuration:
Policy & Objects > IPv4 Policy: Here you create a new policy by clicking on “Create New”. Select the LAN interface as the “Incoming Interface” and the WAN interface as the “Outgoing Interface”. Set “Source ” to “all”, “Destination to “all” and activate NAT. - VPN configuration:
VPN > IPSec Wizard: Use the wizard to set up a new VPN. Enter the name for the VPN connection and select the template. Follow the instructions to configure phase 1 and phase 2 with the corresponding settings. - Firewall rules:
Policy & Objects > IPv4 Policy: For each rule you want to create, click on “Create New”. Configure the source, the destination, the incoming interface, the outgoing interface and the action (e.g. Accept or Deny). - Security profiles:
Security Profiles: Here you can configure various security profiles, such as antivirus, web filter, DNS filter, etc. You can create a new profile or edit existing profiles and then apply them to your firewall rules. - Logging and monitoring:
Log & Report > Log Settings: Configure here which events should be logged. You can specify which type of traffic (e.g. forward traffic, local traffic) should be logged and at which severity level.
There are clear, step-by-step instructions for each of these tasks in the FortiGate GUI. It is important that you familiarize yourself with the specific versions of the FortiGate GUI, as the navigation and available options may differ slightly between versions.
Once you have made the basic configurations, you should regularly check and adjust your firewall and the associated security settings to ensure that your network is protected against current threats.