Would you like to add another language to your initially defned main language in Website Creator? To add a new language you have to activate the language in a first step and then add the language for your menu in a second step.
To create a new language, proceed as follows:
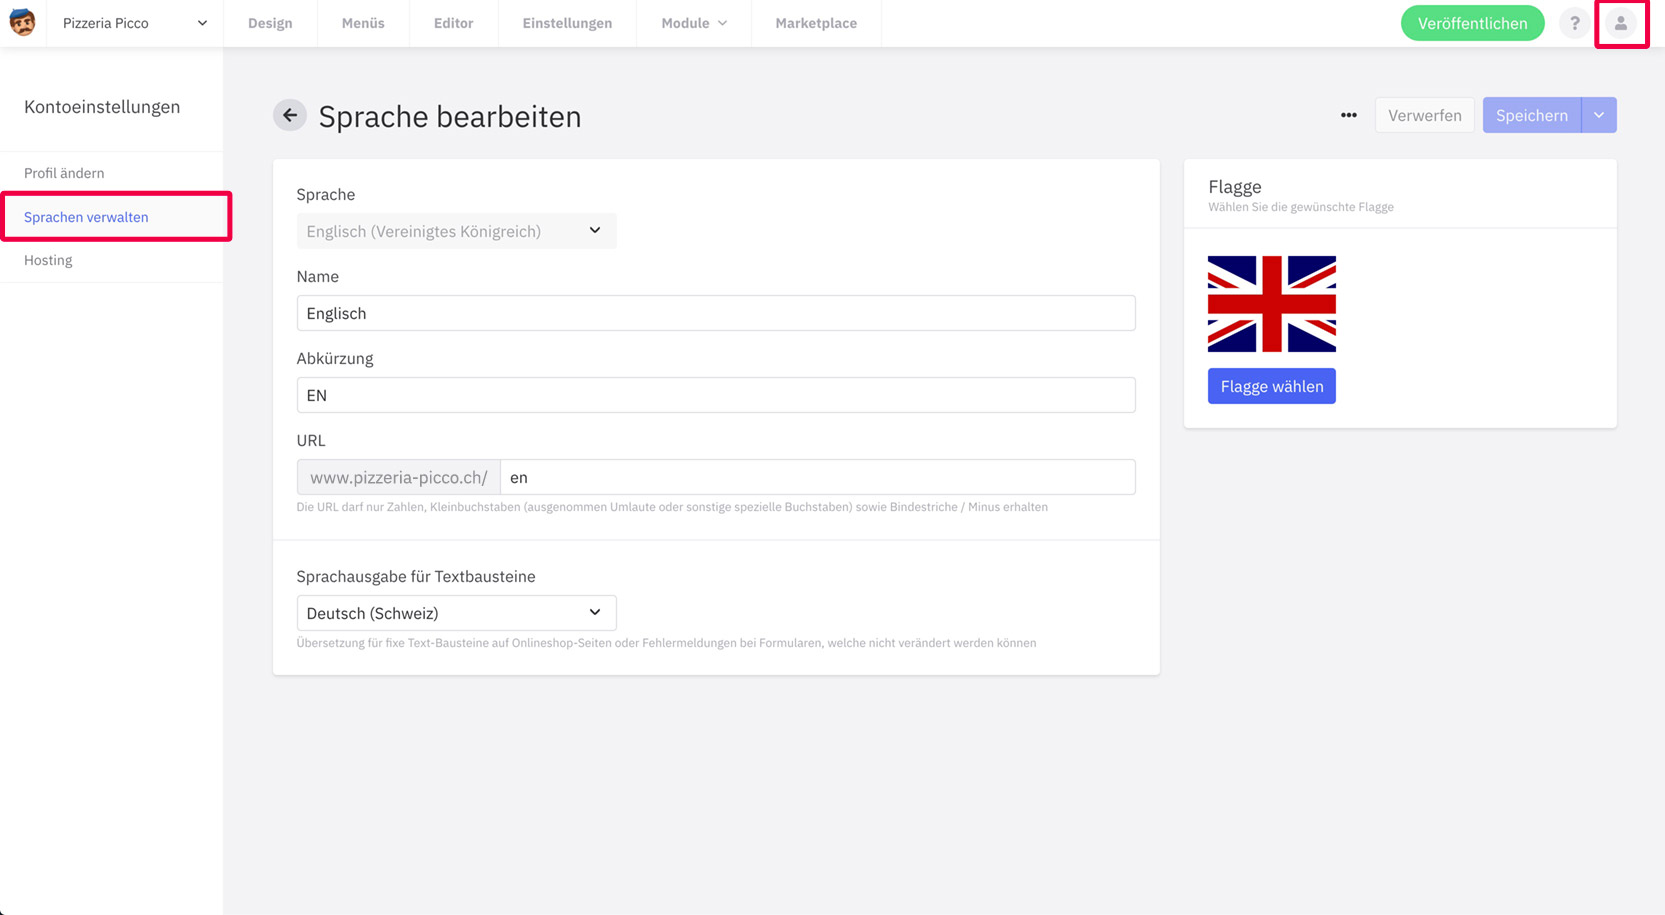
- Go to “Manage Languages” via the account icon
or
- Go to ‘Menus’ in the top navigation
- click on ‘Language settings’ in the navigation on the left
- click on the button ‘manage languages’ (you will end up in the language management as in the first variant above)
In the language management you can see an overview of all your languages. The main language is at the top, all other languages under translations.
- Click on the button ‘+Add language’
- Choose the desired language > flag, name, abbreviation and url will be filled in automatically. However, you can still change these fields if you wish.
- Choose the language for the voice output of the text modules (text modules are, for example, predefined error messages or texts in the online shop that cannot be changed)
- Click on the ‘Create’ button to save the language
The language now appears in the list of translations

Activate language in the menu
Now it’s about the language also being displayed in your menu and the pages being editable in the editor.
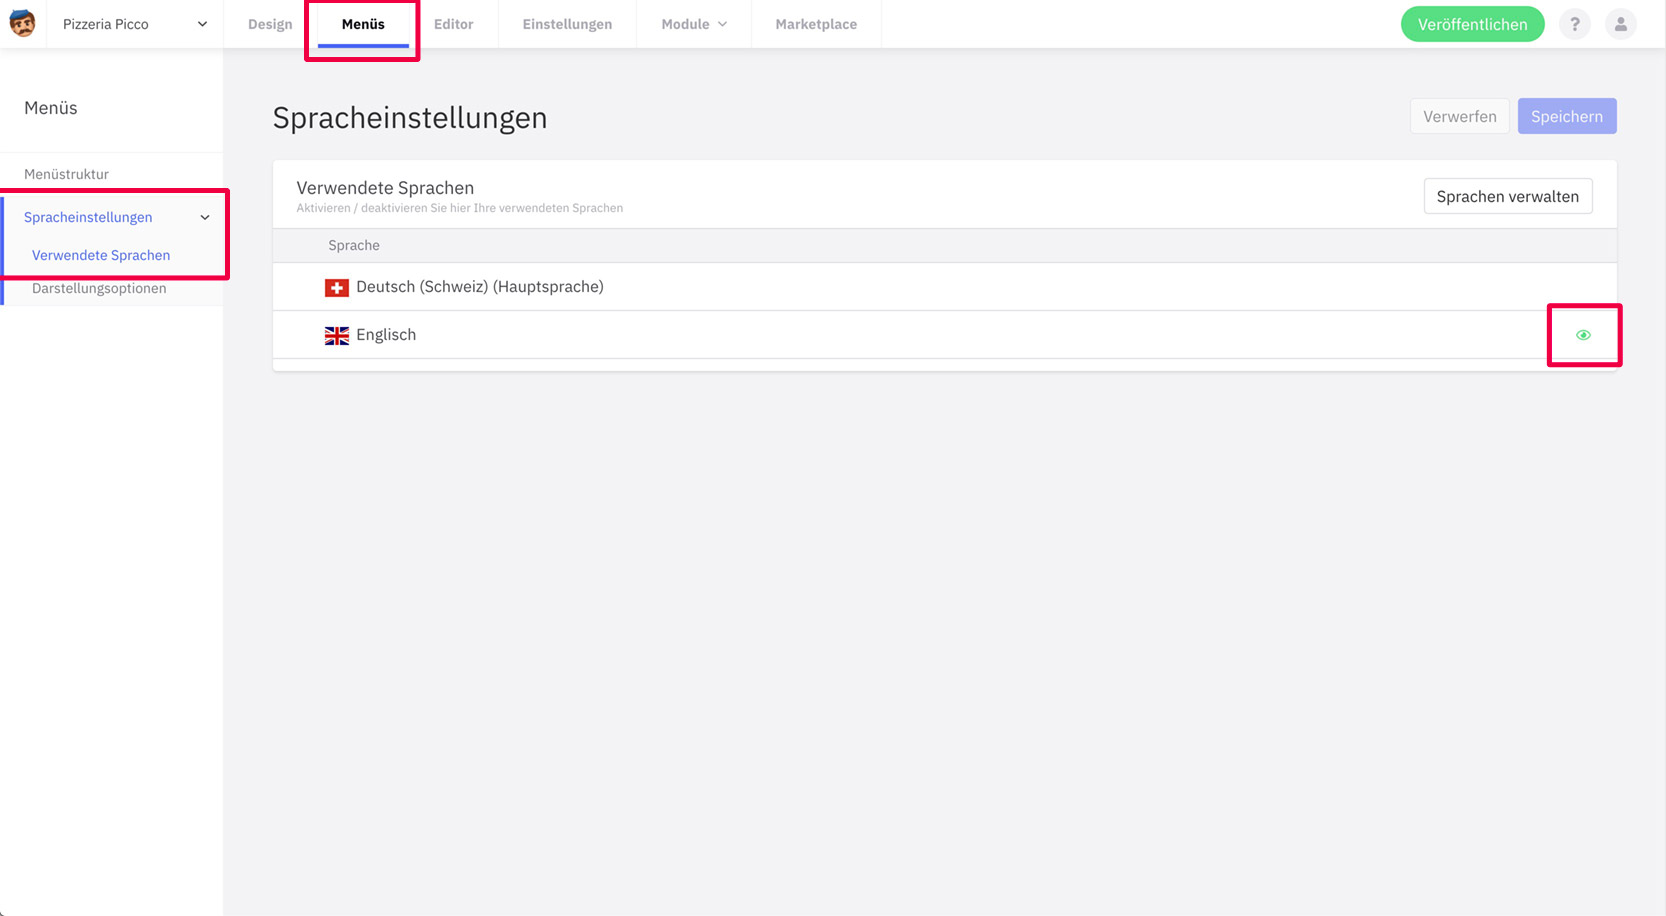
- Go to “Menus” in the navigation at the top
- click on ‘Language settings’ in the navigation on the left
- The newly created language is now greyed out under ‘Languages used’. That means it is not activated. Click on the eye icon on the far right. If the eye is green, the language is activated.
- Click Save

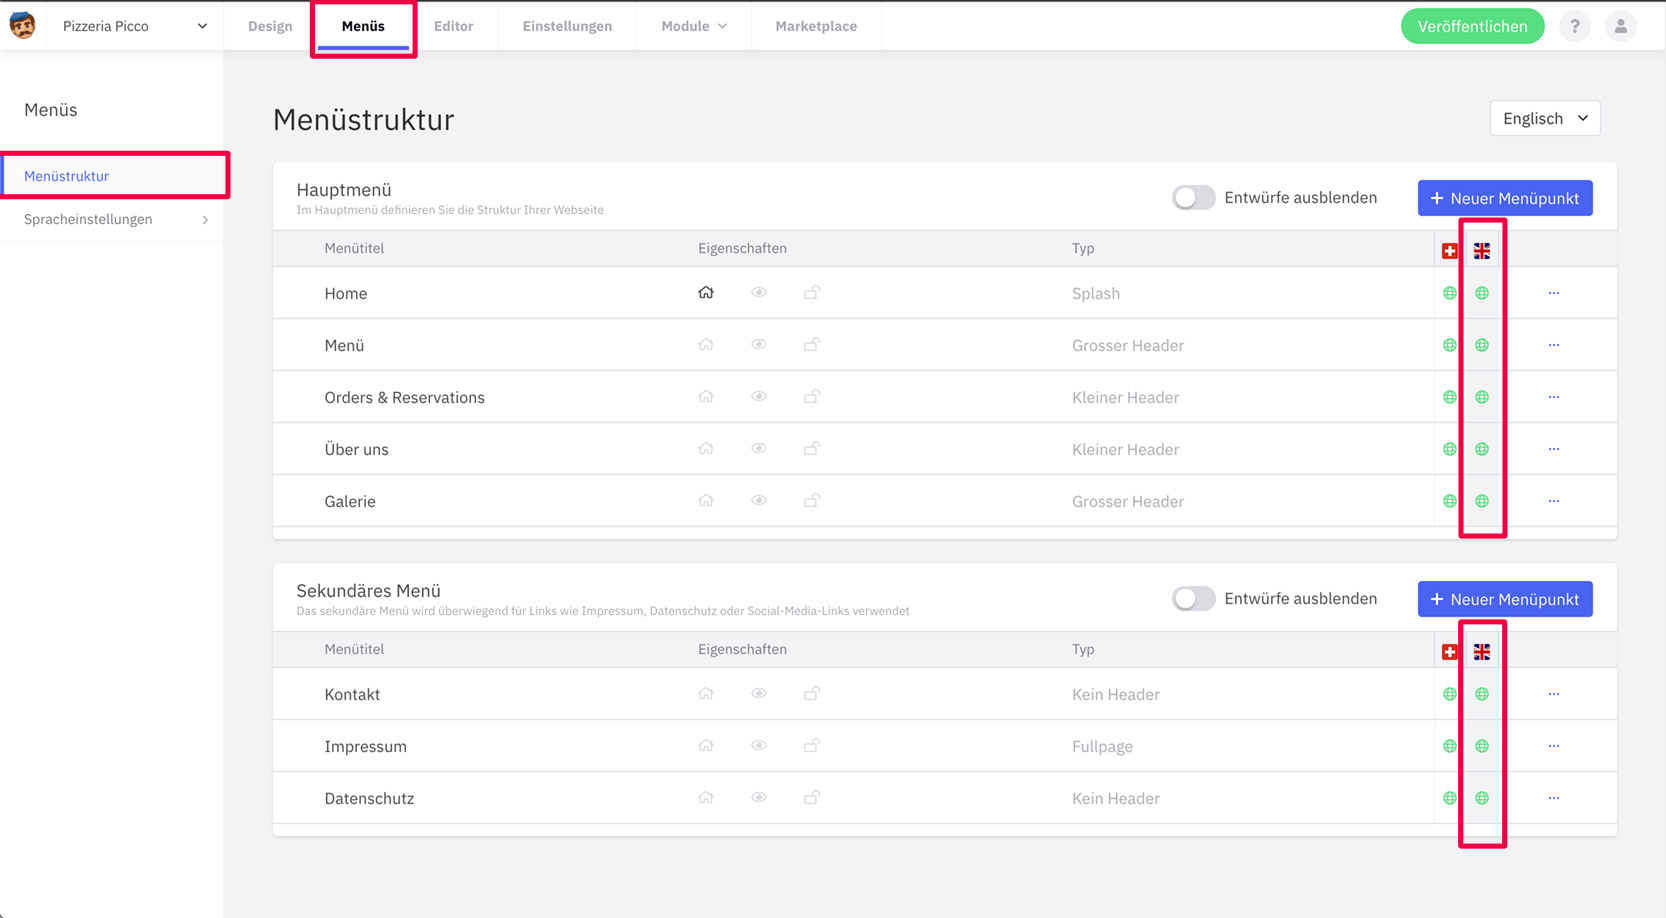
The new language is now also displayed in the menu structure and you can continue to edit the pages and make settings.
