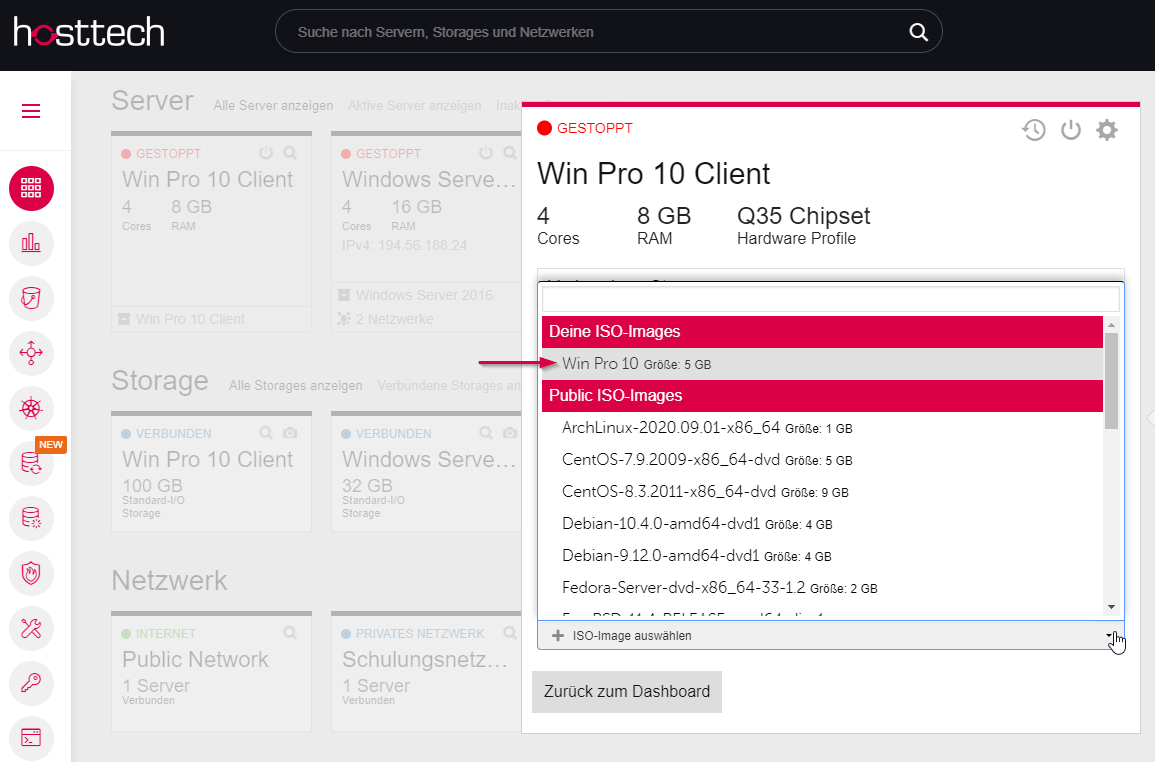
When creating a new server with storage, certain standard templates of the most commonly used server operating systems are already available. Here we explain how to use your own ISO files for your system.
With a download link
If you have a download link to an ISO, you can directly select “Templates & ISO” in the vDC on the left in your menu. Here you can click “Add ISO Image”, give the image a name, enter the link, and create the ISO image.
The ISO is now available in the list of images when editing a system.

Upload an ISO file
But often you already have the ISO file on your computer and want to upload it from there. It would of course be cumbersome if you first had to create a website in order to upload the ISO file to a web server and then load the file into the vDC using the variant described above – with the download link.
For this purpose, there is the item “Object Storage” in the menu on the left. If you’ve never used this before, you’ll need to create a new access key first, and then create a new bucket. However, we will not go into that here.
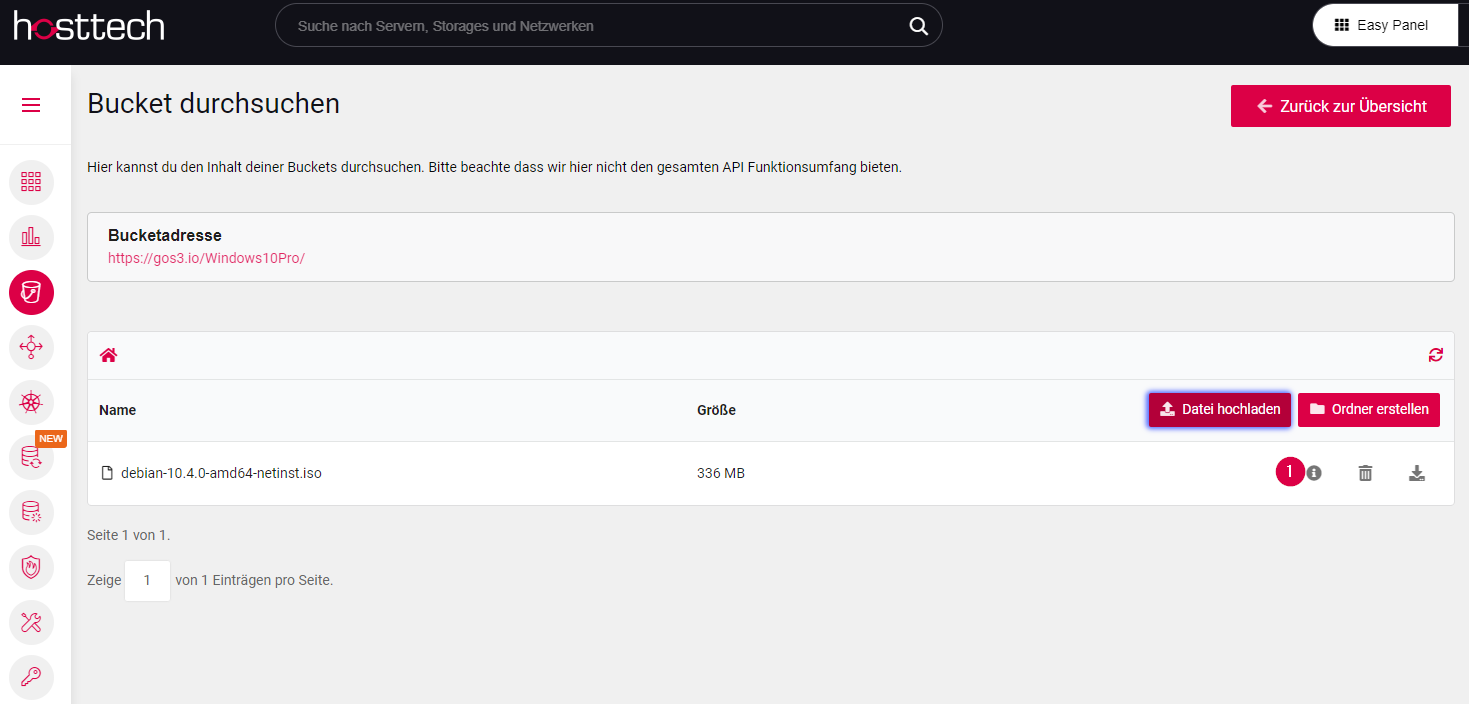
If you have a bucket, you can browse it and upload your ISO file there. We recommend leaving the view open until the file is fully uploaded. We already had cases where the upload was interrupted when you switched to another menu.

The file is now in the vDC, but is not yet recognized as an ISO file. To do this, you have to click on the information icon (in the image above). Create a temporary URL. This is now the download link that you can use as in the first variant. The advantage here is that the file is not downloaded first because the file has already been uploaded.